
Last updated November 22, 2026
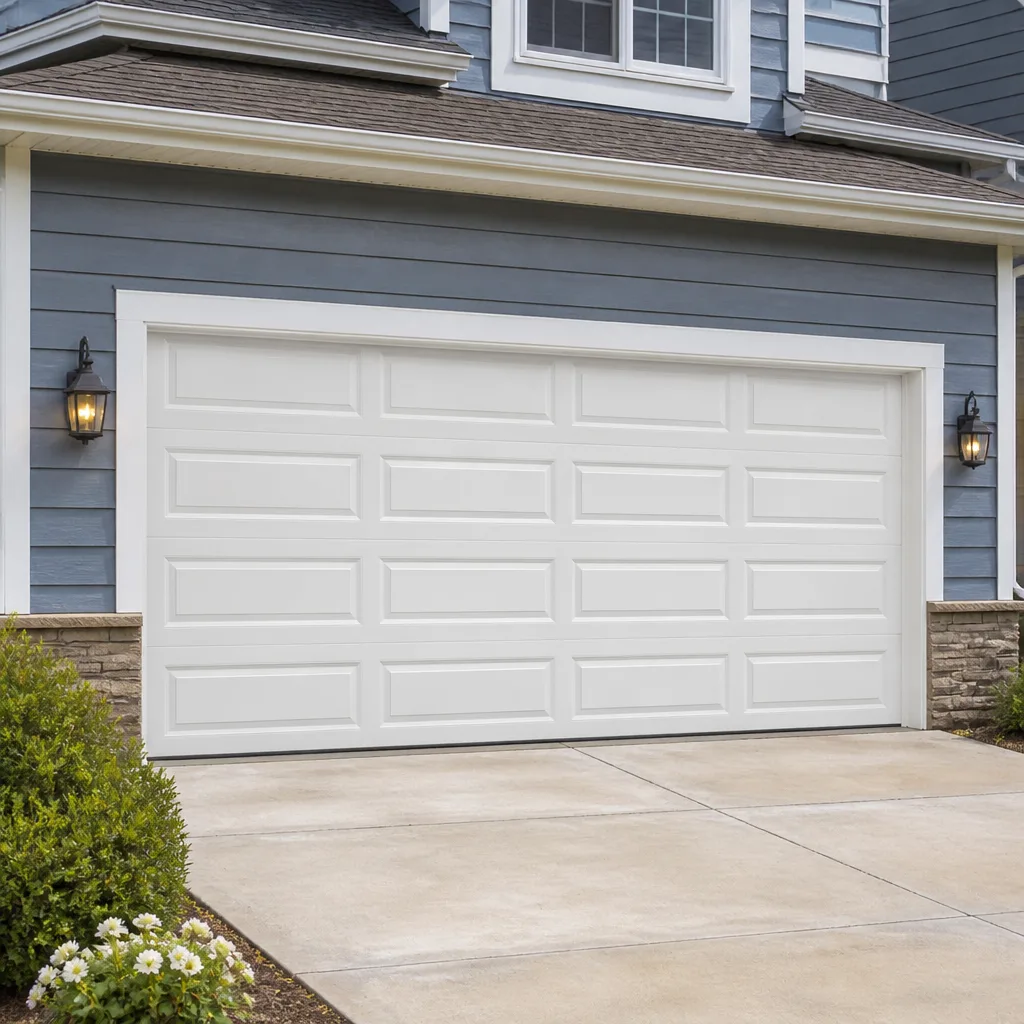 Raised-panel steel
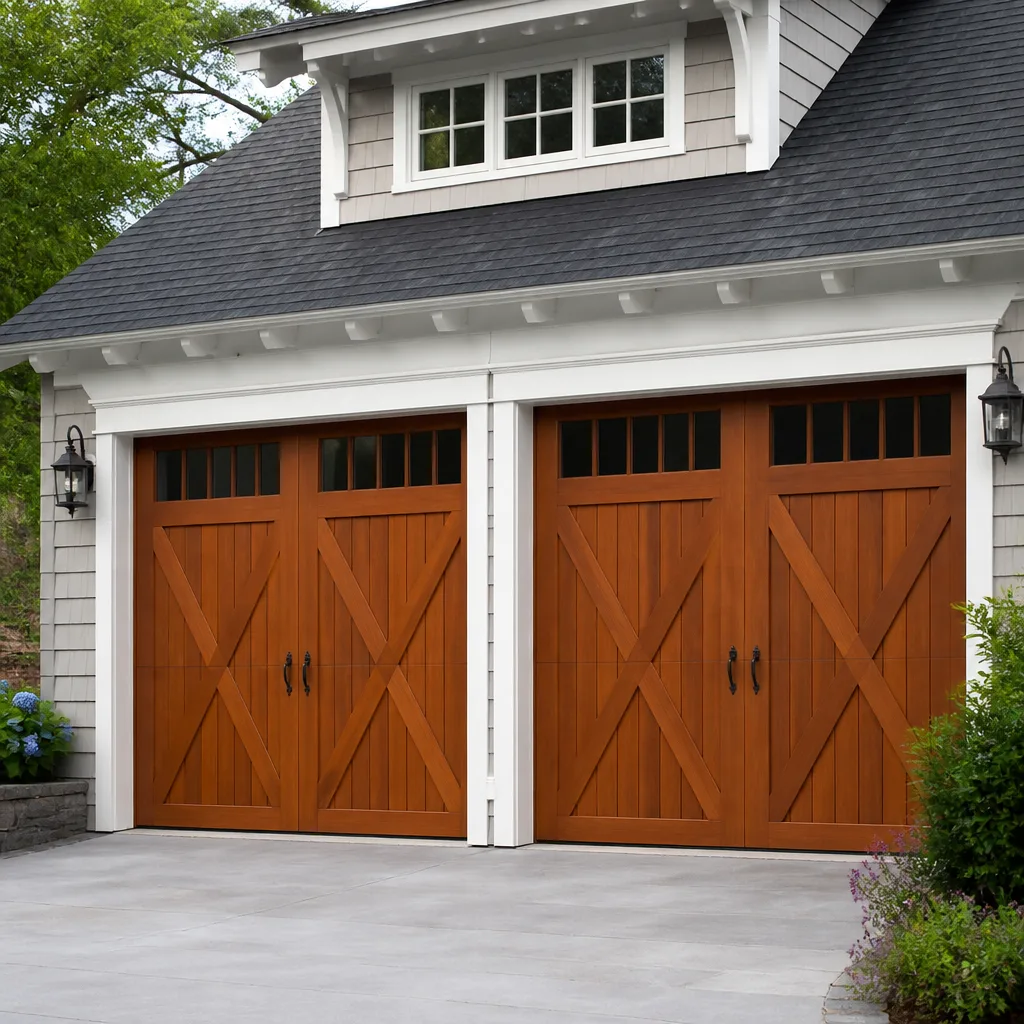 Carriage house
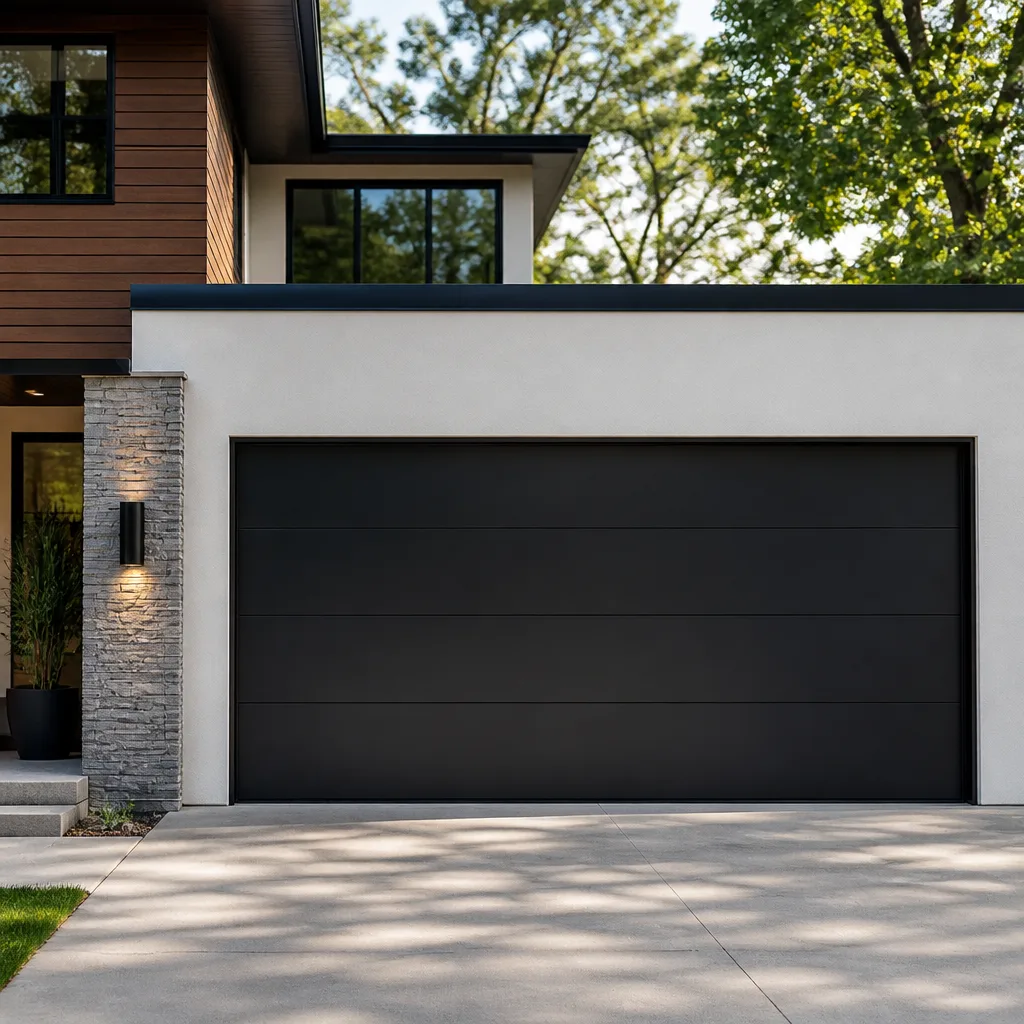 Modern flush
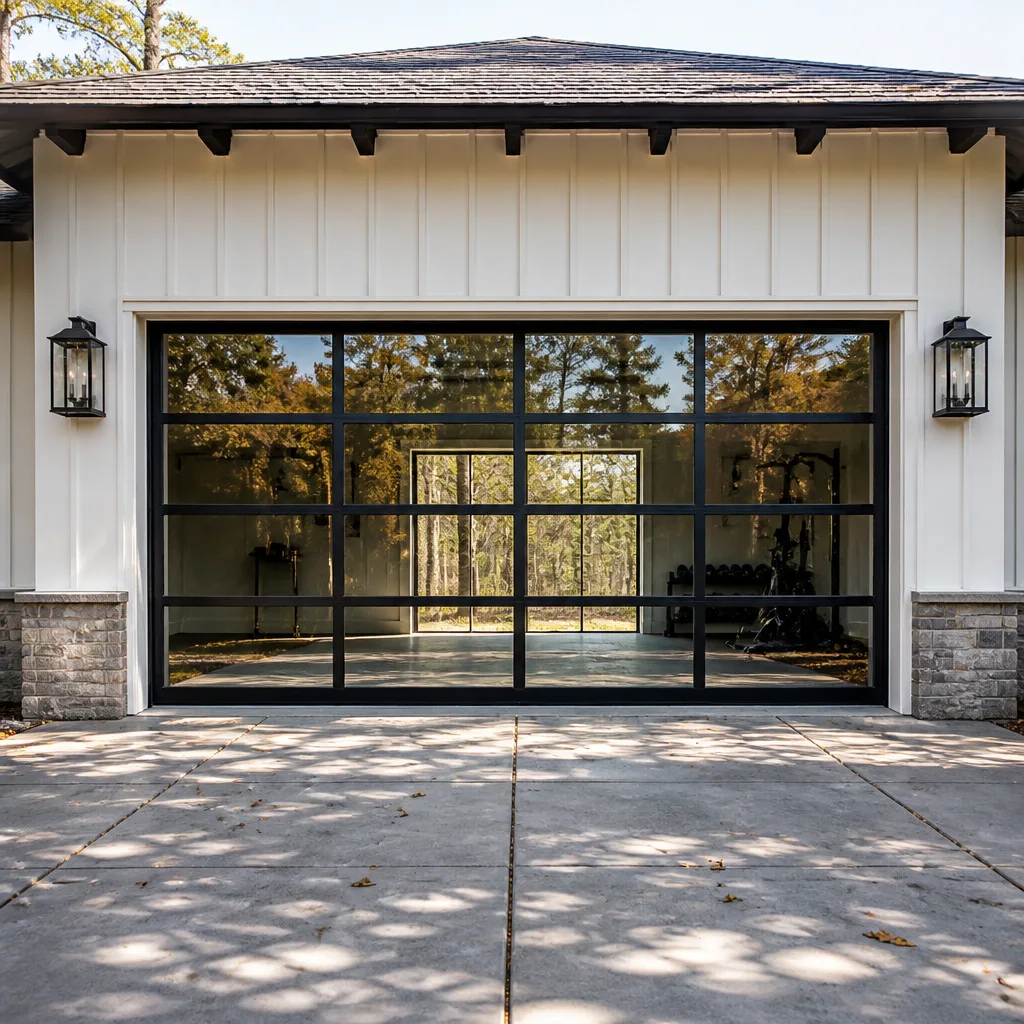 Full-view glass
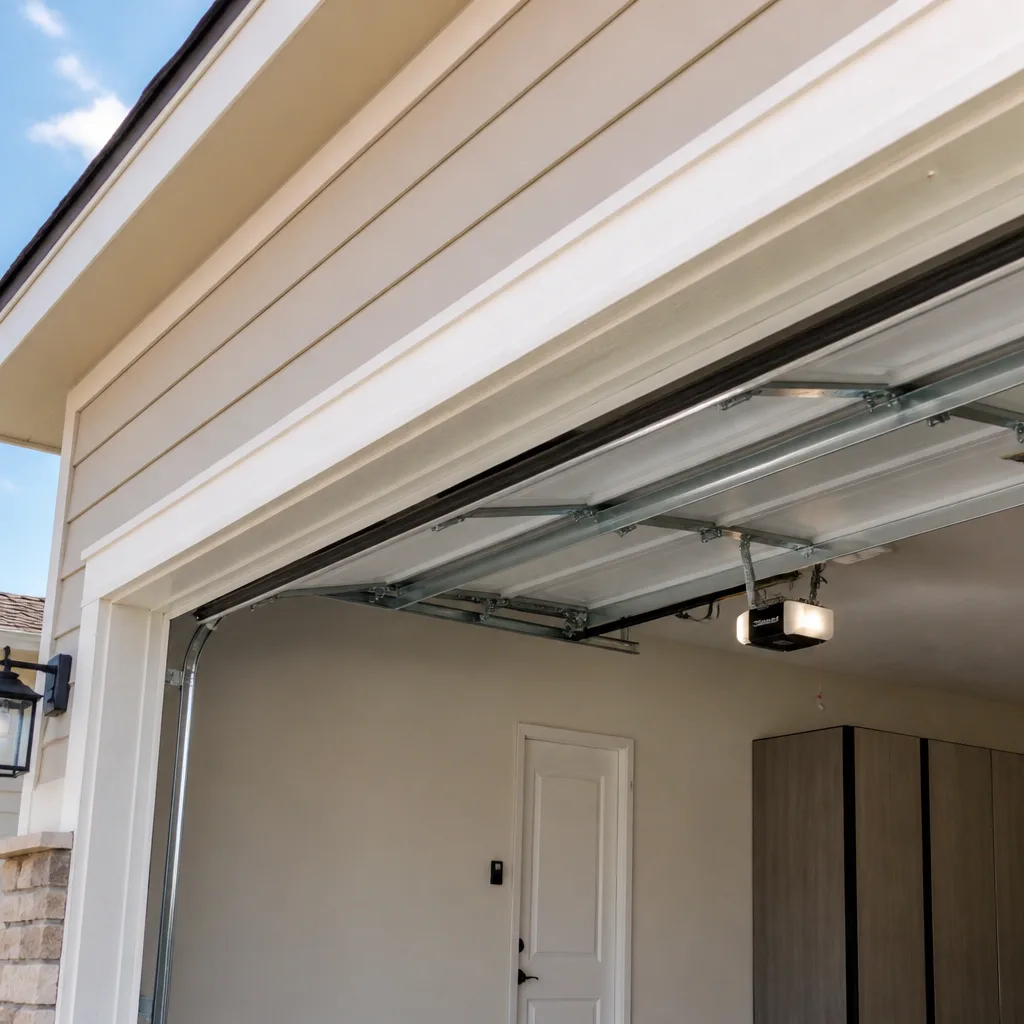 LiftMaster openers
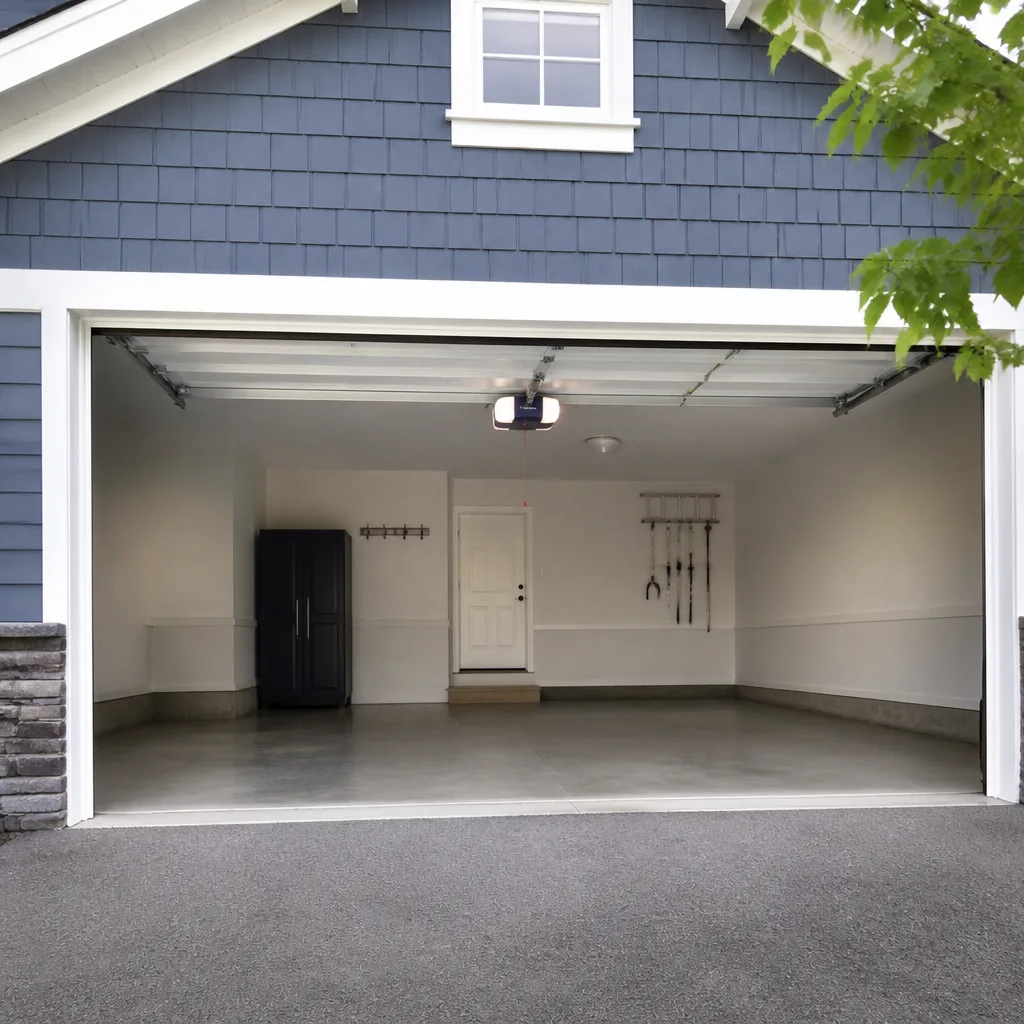 Chamberlain openers
Full 25-point door and opener safety check with every visit - springs, cables, rollers, tracks, and your LiftMaster or Chamberlain opener included
You get a price before we start. It does not change when the pro arrives.
Get your free estimateGarage Door Repair Maintenance Checklist for Highlands Ranch Homeowners
The most expensive garage door repair we get called for usually starts as something a homeowner walked past for months. A spring that looked slightly stretched. A roller that had stopped turning quietly. A weather seal that pulled loose after the first hard freeze. None of those feel urgent until the morning the door won’t open. And here’s the part that surprises people: a checklist that only lists tasks, “inspect springs, lubricate hinges, test sensors,” is close to useless. The value isn’t in the task. It’s in knowing what a failing part looks, sounds, and feels like at each checkpoint. This guide is built the way a technician actually walks a door in Highlands Ranch, in order, with the warning signs spelled out at every step.
Quick Answer
A garage door maintenance checklist for Highlands Ranch homeowners should cover six checkpoints: safety sensors, balance and travel, springs and cables, rollers and hinges, weather seal and bottom bracket, and the opener unit itself. Check them seasonally, timed around Colorado’s freeze-thaw cycle rather than a generic quarterly calendar. Anything on the spring, cable, or torsion assembly is look-only for a homeowner; the mechanical checks are DIY-safe.
Styles & brands we work with
- Raised-panel steel
- Carriage house
- Modern flush
- Full-view glass
- LiftMaster openers
- Chamberlain openers
Table of Contents
- Why Order Matters in a Garage Door Inspection
- Checkpoint 1: Safety Sensors and Auto-Reverse
- Checkpoint 2: Balance, Travel, and Listening for Trouble
- Checkpoint 3: Springs and Cables (Look, Never Touch)
- Checkpoint 4: Rollers, Hinges, and Lubrication for Dry Colorado Air
- Checkpoint 5: Weather Seal, Bottom Bracket, and Panels
- Checkpoint 6: The Opener and What Its Sounds Tell You
- The Highlands Ranch Seasonal Calendar
Why Order Matters in a Garage Door Inspection
The sequence of a garage door inspection isn’t arbitrary. A technician checks safety systems first, then balance and travel, then the high-tension parts, then the hardware, then the seal and panels, then the opener. That order exists because each checkpoint tells you whether it’s safe to go further. If the sensors are misaligned or the door doesn’t balance, you stop the inspection and fix that before touching anything else. If you skip ahead to greasing rollers, you’re putting a door that may not reverse on a child safely back into service.
There’s a second reason for the sequence. A garage door is a single balanced system, and most symptoms point backward through it. A door that slams down too fast looks like an opener problem, but it’s usually a tension or balance problem. An opener that struggles and reverses after a foot of travel looks like a gear failure, but a binding roller can cause the same behavior. Working in order, and confirming each checkpoint before moving on, keeps you from misdiagnosing the door and buying a part you didn’t need.
We’ve noticed something in Highlands Ranch specifically: two-story homes in neighborhoods like BackCountry and Northridge tend to have heavily used garage doors. When the garage is the primary entry point, the door cycles several times more per day than a typical suburban door. More cycles means faster wear on rollers, hinges, and the opener’s internal parts. That doesn’t change the checklist, but it does mean the seasonal checks matter more than they would on a door that opens twice a day.
Checkpoint 1: Safety Sensors and Auto-Reverse
The photo-eye sensors are the one part of the system whose entire purpose is to stop the door. They sit about six inches off the floor at each side of the opening, one sending an invisible beam and the other receiving it. The first thing to look at is the lenses. They should be clean and pointed at each other. A sensor knocked slightly out of alignment during a bike pull-out or a garbage can bump is far more common than a sensor that has actually failed. Most sensor pairs have a small indicator light that stays steady when the beam is intact and blinks when it’s interrupted; a blinking light on one side is almost always alignment, not electronics.
To test the safety reverse function without special tools:
- Open the door fully, then close it using the wall control.
- As the door comes down, wave a broom handle or a long piece of cardboard through the sensor beam near the floor.
- The door should reverse immediately and return to the open position. A door that keeps closing past the interrupted beam fails the test.
The second test is the mechanical auto-reverse. With the door open, lay a roll of paper towels or a 2×4 flat on the ground in the center of the opening. Close the door. When it contacts the object, it should reverse within a couple of inches. On a LiftMaster or Chamberlain opener, this sensitivity is set on the unit itself, and the manual for the model explains the adjustment. If the door doesn’t reverse on either test, the door should stay out of service until it’s corrected. That’s not something to leave for a convenient weekend.
Checkpoint 2: Balance, Travel, and Listening for Trouble
A balanced door is the quiet prerequisite for everything else working well. Balance is checked with the opener disengaged. On most doors, there’s a manual release cord hanging from the opener rail. Pull it, then lift the door halfway by hand and let go.
- Normal: the door holds roughly in place, or drifts very slowly. This means the springs are counterbalancing the door’s weight correctly.
- Abnormal: the door drops fast or feels heavy enough to want to fall. It should never come down under its own momentum.
- Abnormal: the door floats up on its own or takes real effort to pull down. The springs are over-tensioned or the door is out of adjustment.
While the door is disengaged, push it through its full travel by hand. It should move smoothly the whole way with no point where it seems to catch, drag, or scrape. A door that binds at one height usually has a misaligned track or a bent roller, and it will wear the opener out faster than any other single cause. Re-engage the release when you’re done, then listen while the door runs on the opener. A healthy door is a low mechanical hum. Squeaks and squeals are rollers or hinges; a grinding or snapping sound is often a spring or a cable winding unevenly; a steady clunk at the top is usually a loose track bracket. The sound tells you which section to look at more closely.
Also watch the travel limit. The door should close firmly against the floor and stop there, not flex the panels down, and it should open just past the header without hitting the opener rail. If the limits have drifted, the door may reverse for no apparent reason. Your LiftMaster, Chamberlain, or Craftsman opener’s manual covers the limit adjustment; many smart-home models also handle it from the app.
Checkpoint 3: Springs and Cables (Look, Never Touch)
The torsion springs over the door are the highest-tension parts on any garage door. They carry the full weight of the door and, when they fail, they release that energy all at once. This is a look-only checkpoint. Do not adjust, oil, tighten, or attempt to measure anything on the spring or the torsion assembly. What you’re doing is checking the visible signs, from a step back.
- Springs: check for a visible gap in the coil, the clearest sign of a broken spring. Even a small gap anywhere in the wind means the spring has failed and the door should not be operated by the opener. Also look at the gaps between the coils. Evenly spaced is normal; uneven spacing can indicate fatigue. Round springs can have a slight tendency to stretch or sag, which is why a technician measures them during maintenance.
- Cables: the cables run along the sides of the door and hold the door’s edges in the track. They should be straight and tight, with no frayed strands, kinks, or slack. A cable that’s come off its drum is a call-now situation; the door isn’t safe to move.
- Drum and bearing plate: look for wobble or rust where the shaft passes through the plate. Worn bearings cause a groaning noise at the top of the door.
Springs that look fine can still be near the end of their life. In our experience working on doors in Highlands Ranch, most spring failures happen in the cold months, when a door that’s been strained all season meets a hard freeze. If the springs look old and the door feels heavy, the honest answer is to have a technician measure the tension before the next cold snap, rather than after. Our technicians have up to 10 years of experience, and a spring check is one of the fastest things we do. When a spring does fail, replacement of both springs together is the usual course; for a single spring the cost typically runs in the range of most repair calls in this market, and for a matched pair about twice that. If a spring has failed, then a garage door spring repair visit is the only safe path forward.
Checkpoint 4: Rollers, Hinges, and Lubrication for Dry Colorado Air
Rollers are the small wheels in the tracks on each side of the door, and they take a beating. Stand where you can see the full edge of the door and watch the rollers as it runs. A roller that turns smoothly is fine. A roller that skids sideways in the track instead of rolling, or has a flat spot, has failed. On most residential doors you can check this by hand with the door closed: touch each roller and give it a light spin with a gloved finger. It should spin freely with no wobble on its shaft. If the roller casing is cracked or the stem is bent, it’s done.
Hinges should be tight, and the metal should show no cracks at the bends. Give each hinge a light wiggle; if it moves independently of the door, a screw has loosened or pulled out.
Lubrication in Highlands Ranch needs a slightly different schedule than the generic advice you’ll find online. Colorado’s winters are dry, and dry air plus forced-air heating pulls moisture off the rollers and hinge pins faster than a humid climate would. A garage door in Highlands Ranch can squeak within months of being lubricated, not years. What we recommend:
- Use a silicone-based garage door lubricant or a light white lithium grease. Never use cooking spray, WD-40 in its standard form, or motor oil. Standard WD-40 displaces moisture but doesn’t hold up as a lubricant, and motor oil attracts grit.
- Apply to the hinge pins, the roller stems, and the bearing plates, not the tracks. Tracks stay clean and dry, because grease in the track collects grit that wears the rollers.
- Reapply at the start of winter and again in late spring, since the heating season dries things out.
- Wipe off any excess so it doesn’t drip onto the door panels.
The rollers and hinges are genuinely DIY-safe to check and lubricate, which is why they’re on this part of the checklist. If the rollers are worn, though, replacing them is a job for a technician, because a door has to be secured while the tracks are opened up.
Checkpoint 5: Weather Seal, Bottom Bracket, and Panels
The bottom weather seal is the rubber or vinyl strip that runs along the bottom edge of the door. With the door closed, look for gaps between the seal and the floor. In Highlands Ranch, the freeze-thaw cycle matters here: the concrete floor at the garage opening shifts slightly through the seasons, and a seal that fit perfectly in July can open up a gap by January. A visible daylight gap under the door isn’t cosmetic. It lets in cold air, moisture, and small animals, and it’s the most common reason a garage feels drafty in winter.
While you’re at the floor, look at the bottom bracket where the lower corner of the door attaches to the cable. The bottom brackets are where the cable is under tension and they’re a part the homeowner should never unbolt or adjust; the lower corner of the door still carries cable tension even when the torsion spring is relaxed. Look, don’t touch. If the bracket looks bent, or the cable end isn’t seated cleanly, a technician should be the one to deal with it.
Then look up the panels themselves. Closed garage doors in Highlands Ranch take direct sun and summer heat on the side facing the street, and you’ll sometimes see a panel that looks slightly warped or bowed. Panels that have been bumped by a vehicle are another common one. A small dent is cosmetic; a bent panel or a bent track lets the door bind, and binds are what wear out openers. Check the track for any section that looks bent or isn’t vertical, and run your eye down the length of each side. It should look straight and parallel to the door. If it doesn’t, then garage door repair is the right call; track alignment is not a DIY job.
Checkpoint 6: The Opener and What Its Sounds Tell You
Last in the sequence is the opener itself, because by now the door has been shown to be balanced, straight, and safely reversing. A well-set opener on a well-maintained door should run quietly and lift the door with ease. The sounds to listen for are different from the door’s own hardware:
- A rhythm of clicks then a pause, then more clicks: usually a gear or sprocket inside the unit wearing down. Common on older Craftsman and Genie units.
- The motor runs but the door barely moves or doesn’t move: the chain or belt is loose or broken, or the trolley has come loose.
- The door moves in jerks: often a chain that needs tensioning, or a binding roller on the door (check checkpoint 4 again).
- Clicking and a light that doesn’t turn on: possibly a bad logic board or a safety sensor issue.
If the opener is a LiftMaster or Chamberlain with the myQ system and the app shows the door is offline, that’s usually the sensor or a router issue before it’s the opener. Run the sensor check in checkpoint 1 first. Raynor and Wayne Dalton openers have their own quirks in the same family of symptoms, and brand-specific parts matter here: generic fixes applied to proprietary systems tend to come back.
We work on the brand already in your garage, and the brand matters because correct parts for your exact opener are what keep it working. A garage door opener repair visit from a technician who knows the model can often be done same day.
The Highlands Ranch Seasonal Calendar
Generic maintenance advice says “check four times a year,” but in Highlands Ranch the seasons don’t fall that neatly. Two moments in the year matter more than the others because of the freeze-thaw cycle.
Late fall (before the first hard freeze). This is the big one. Check the springs, cables, and weather seal while the door is still easy to move. A dry autumn followed by a freezing night is when tired springs give out, and the busiest service calls of the year come right after the first freeze. Have the balance checked, look for coil gaps, and make sure the bottom seal fits the floor before the concrete contracts. Lubricate the hinge pins and roller stems at this point, too.
Early spring (after the last freeze). The thaw moves the concrete under the door again, so recheck the seal and look for any new gaps. This is also the best time to run the full set of safety tests, because the sensor lenses collect grit and pollen through the winter, and the auto-reverse should be tested before the door sees heavy summer use.
Mid-summer. A lighter check. Look at the panels for warping or sun damage, check the rollers, and re-lubricate if the heating season has dried things out. There’s no need for a full set of safety tests if the door has been running smoothly, but the visual check is quick.
On top of the calendar, the more useful trigger is usage. If your garage door is the main entry point for the family, the hardware is doing more work than a door that opens a couple of times a day, and a seasonal check plus a visual walk-around once a month is a reasonable rhythm.
Common Mistakes to Avoid
- Greasing the tracks. The tracks need to stay clean and dry. Grease in the track collects grit and wears the rollers faster. Lubricate the rollers, hinges, and bearing plates and leave the tracks alone; a clean cloth wipe is all they need.
- Tightening the spring or cables by hand. Torsion springs hold enormous energy and are the most dangerous part of any garage door. A single wrong move can cause serious injury. Leave every spring and cable adjustment to a technician.
- Using standard WD-40 as lubricant. It’s a moisture displacer, not a lasting lubricant, and on a dry Colorado door it evaporates out of the hinge pins within weeks. Use a silicone or white lithium product.
- Ignoring a balance problem because the opener “handles it.” An opener that’s lifting a door that should be carrying its own weight will wear out faster and can snap a spring under load. Fix the balance first.
- Skipping the test just because the door moves. The auto-reverse and sensor tests are the only things that show the door will stop for a person or a bicycle in its path. Run them at least twice a year.
- Papering over a bent track with new rollers. If the track is bent, new rollers will just wear out in the same place. Fix the alignment first.
- Ignoring a seal gap in winter. It’s a small draft item to you; it’s cold air, moisture, and pest access into the garage all season. A gap that opens each January is a sign the seal needs replacing.
See the difference
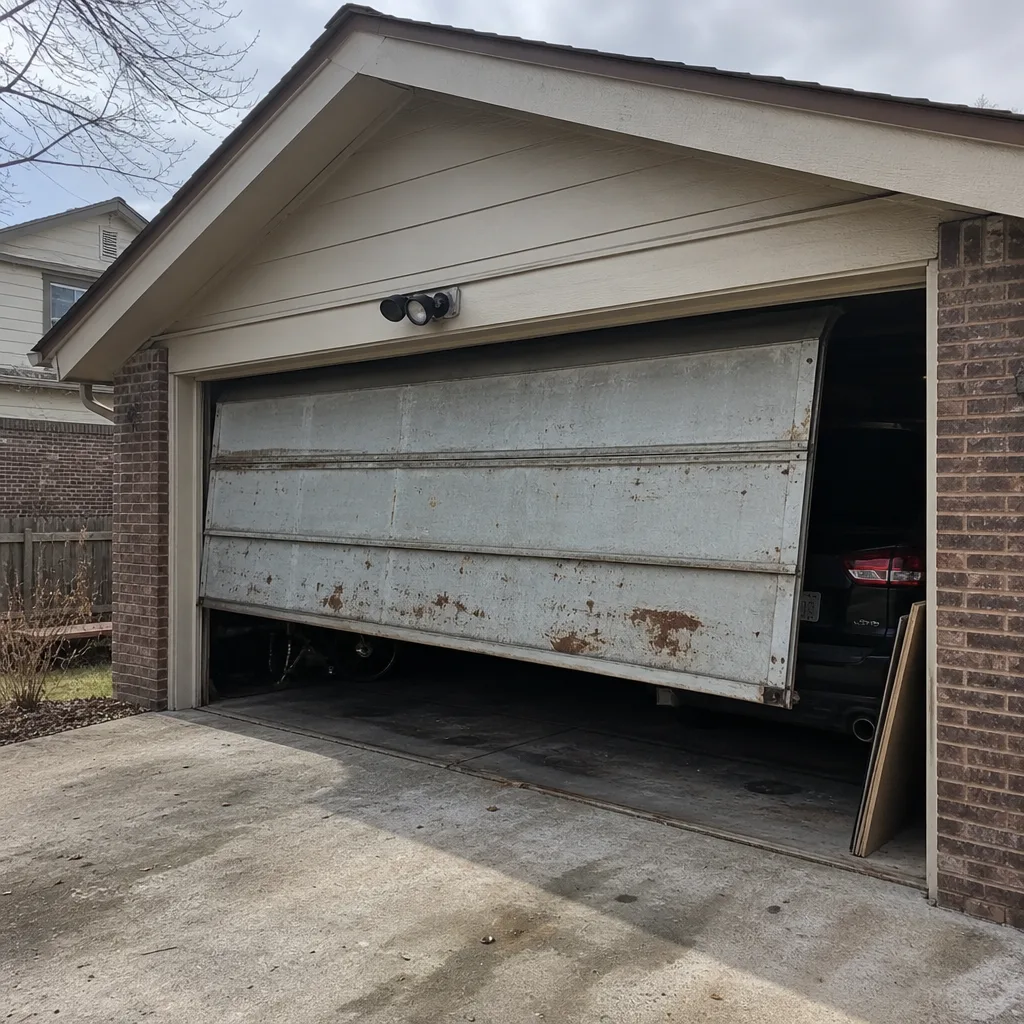 Before
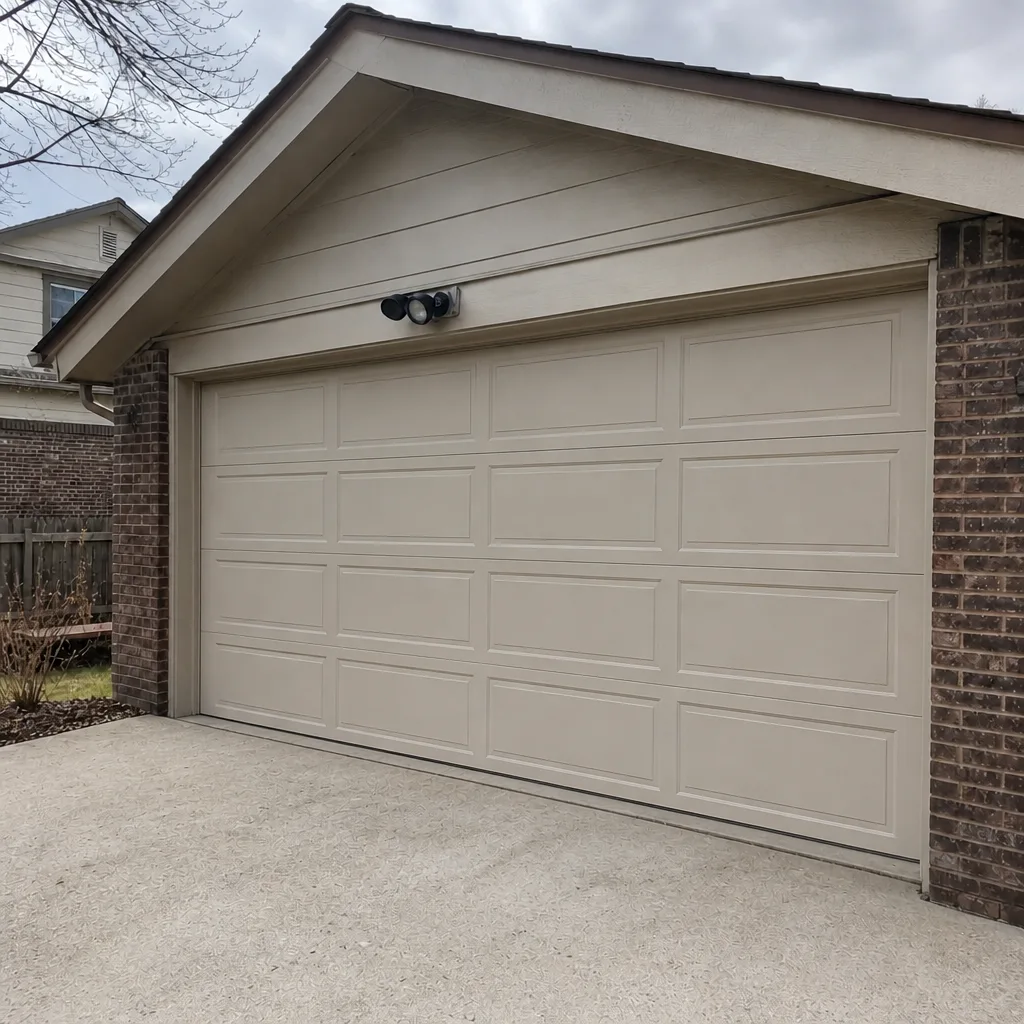 After
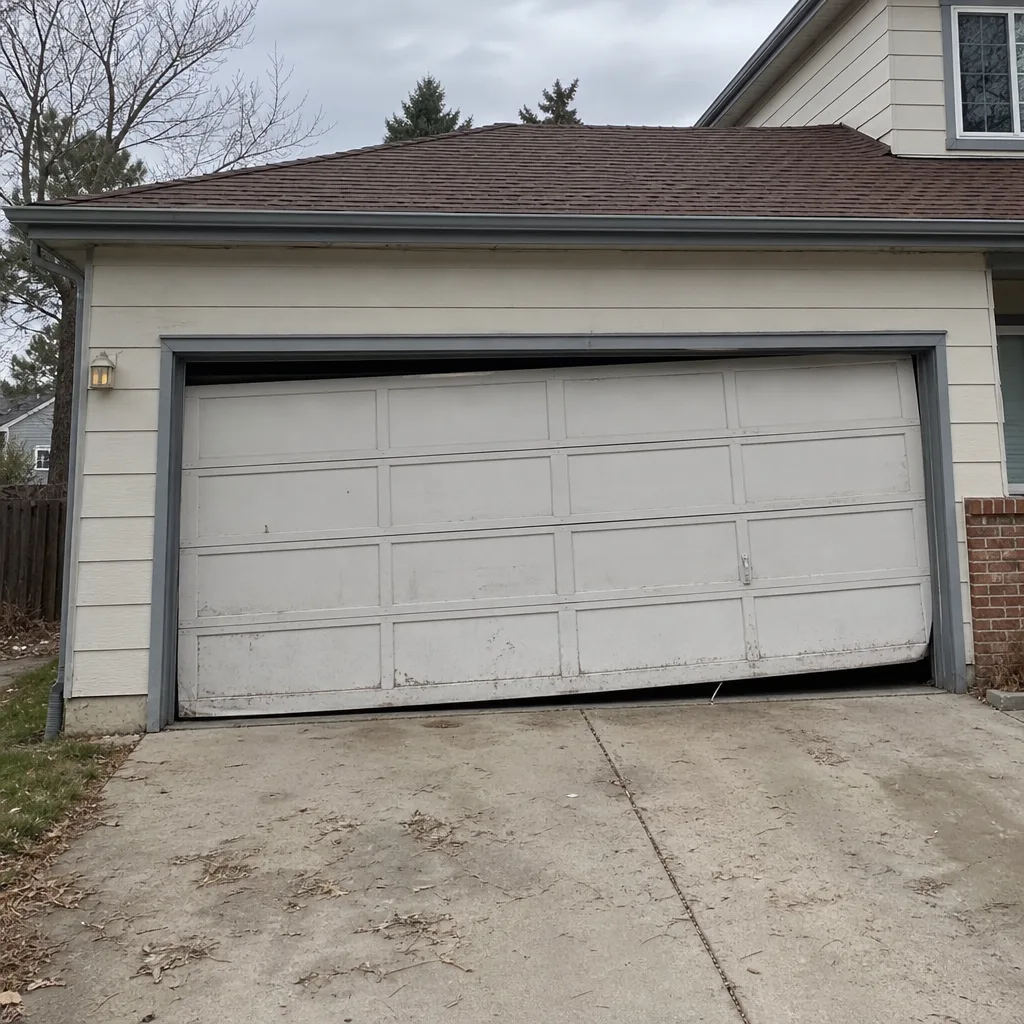 Before
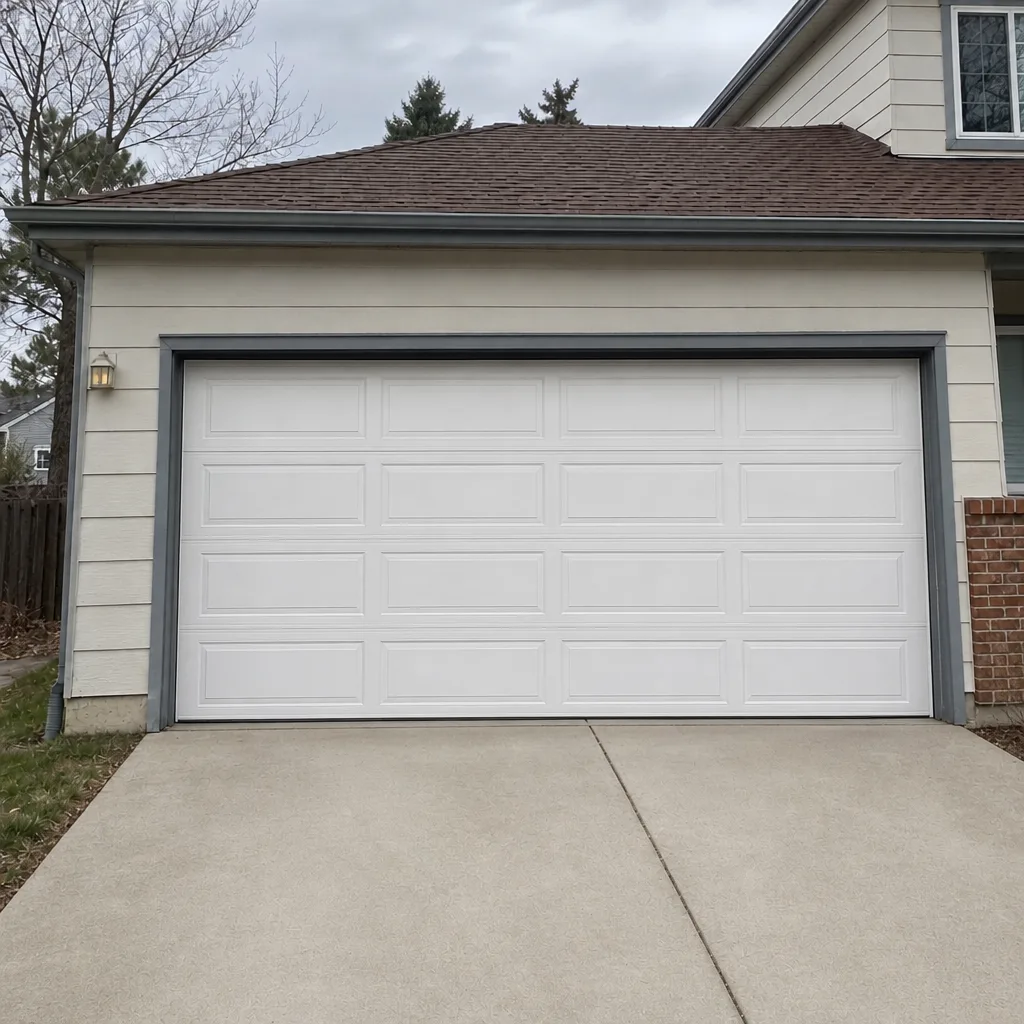 After
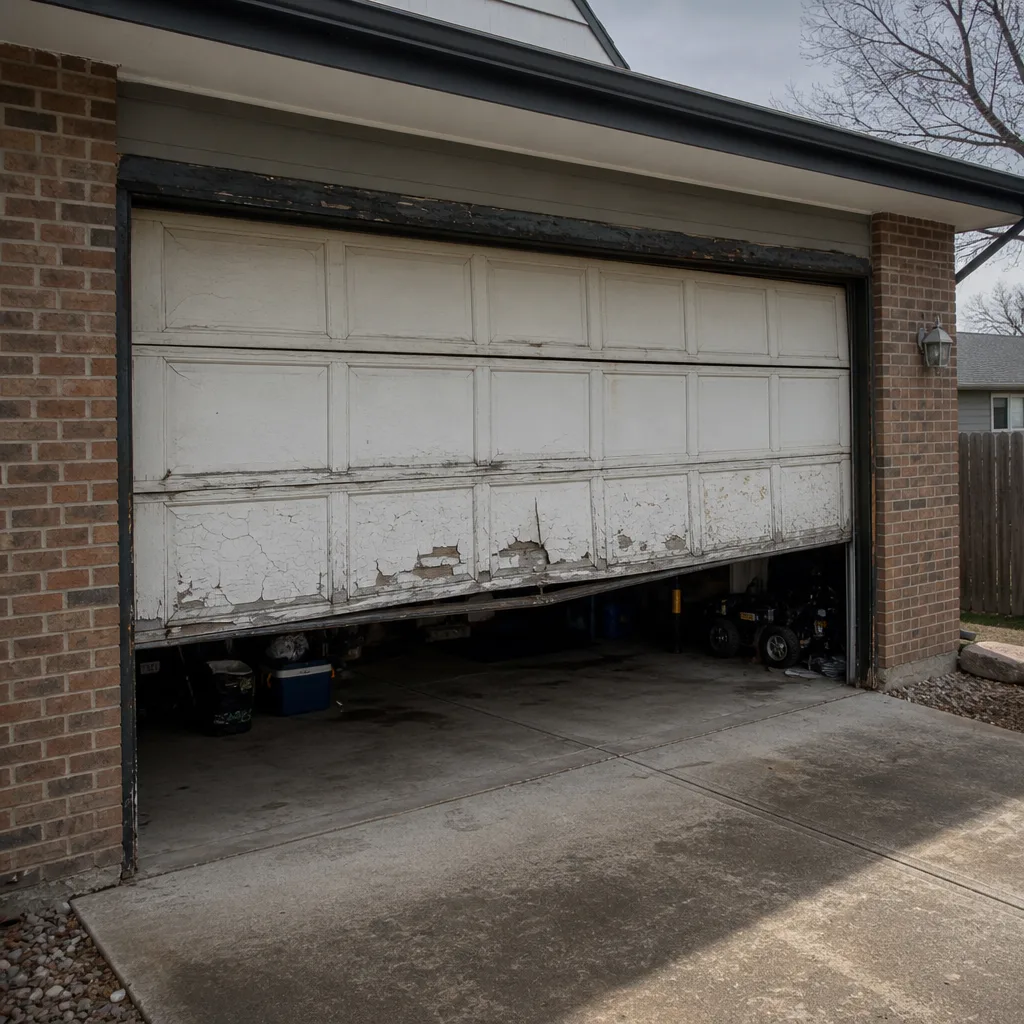 Before
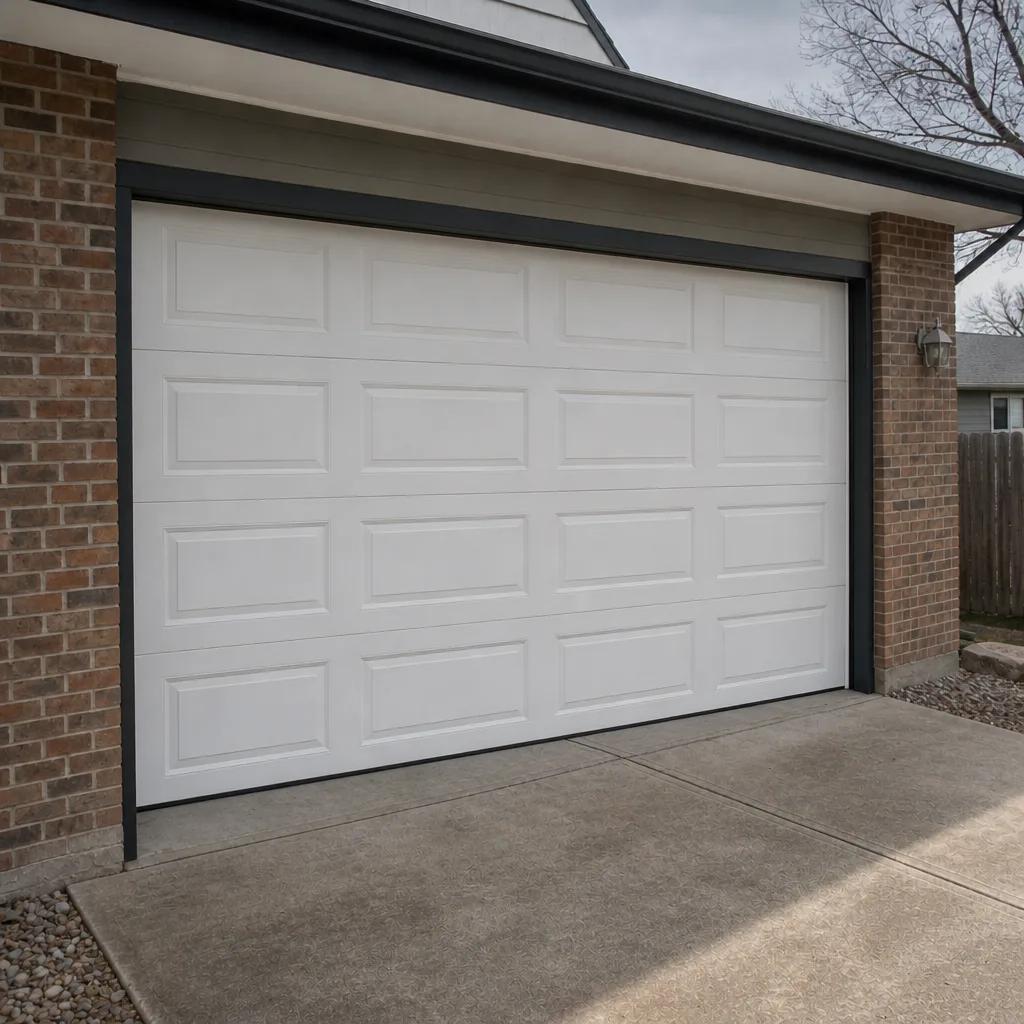 After
When to Call a Professional
Some items on this checklist belong in your hands; others shouldn’t be. Call a professional for anything involving the springs, the cables, the bottom bracket, or a bent track, and for any door that fails the auto-reverse test twice. If the door won’t open or close reliably, if the opener runs but the door doesn’t, or if you hear a grinding from the unit, that’s a repair call, not a maintenance item. And when a door fails at a time you can’t wait, that’s precisely what our emergency service is for. Highlands Ranch Garage Door Repair Pros offers free estimates in Highlands Ranch; call (833) 762-3210 to get a written price before any work begins. We answer 24/7. Fast dispatch from 7am to 7pm, Sunday through Friday.
Frequently Asked Questions
Twice a year at minimum, with the important checks timed to the freeze-thaw cycle: once in late fall before the first hard freeze and once in early spring after the last one. A lighter visual check in midsummer catches panel and roller wear. If the garage is your primary entry point, add a quick monthly visual walk-around.
Typical repairs in this market usually run from the low hundreds for hardware and small fixes up to a few hundred for a spring replacement, and a matched pair of springs typically costs about twice the single-spring figure. The written estimate sets the final price, and the price is quoted and agreed before any work starts. Call (833) 762-3210 for a free estimate.
No. Torsion springs store enough energy to cause serious injury, and the winding bars and tension adjustments are a job for a trained technician. You can look for the warning signs (a gap in the coil, an unevenly spaced coil, a door that feels heavy) from a step back, but then the spring work belongs with someone who does it every day.
Dry air and forced-air heating pull moisture off the rollers and hinge pins, which is why Highlands Ranch winters make even a fairly new door squeak. A silicone or white lithium lubricant on the hinge pins and roller stems, applied before the first cold snap and again in late spring, quiets most of it. Persistent squeaks after lubrication usually mean a worn roller or hinge.
That symptom usually points to a travel limit that drifted, a binding roller, or a sensor that’s slightly misaligned. Run the sensor test first (checkpoint 1), then check the balance (checkpoint 2). If the sensor and balance both pass, it’s an opener setting or a worn part. Our technicians have up to 10 years of experience across LiftMaster, Chamberlain, Genie, Craftsman, and the other major brands, so call (833) 762-3210 for a same-day repair visit.
Maintenance is priced per visit by a written estimate, not a menu rate. Because the estimate is free and the price is agreed before any work starts, you’ll know the number before anything is done. Call (833) 762-3210 for an exact quote. If a spring or opener issue turns up during the check, that’s quoted separately, in writing, before any work begins.
The Bottom Line
A maintenance checklist earns its keep when it tells you what failure looks like, not just what to check. Run the six checkpoints in order: sensors and safety reverse, balance and travel, springs and cables (look only), rollers and hinges, seal and bottom bracket, then the opener. Time the critical checks around Colorado’s freeze-thaw cycle. When the door fails a safety test, or the spring shows any sign of a gap, keep it out of service and get a technician out. Learn the brand in your garage, keep the tracks clean, lubricate for dry air, and call us when something looks wrong. If you’re in Highlands Ranch, the team at Highlands Ranch Garage Door Repair Pros is here for everything from maintenance to a full replacement, and we quote every job before we start. Call (833) 762-3210 for a free estimate. We answer 24/7. Fast dispatch from 7am to 7pm, Sunday through Friday.
Written by the team at Highlands Ranch Garage Door Repair Pros.